Hello everyone, Here is a tutorial for a lovely card I made using the coordinating build a blossom stamp set and punch. I’m following another demonstrators example for the step by step tutorial. enjoy 🙂
Materials: Wisteria Wonder card stock, So saffron cardstock, whisper white card stock, Old Olive card stock, More mustard ink, Perfect Plum ink, build a blossom stamp set, Blossom Petals builder punch, Scallop trim border, perfect words stamp set, 2 1/2 inch circle punch, large pearl.
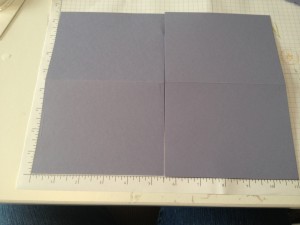
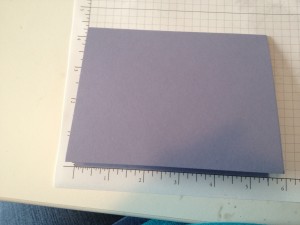
Start by cutting a piece of Wisteria wonder cardstock in half and folding one of the half pieces in half again. Generally you can make two cards sizes 5 1/2 x 4 from one sheet of 8 1/2 x 11 cardstock.
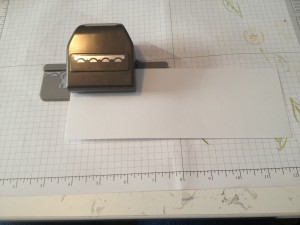
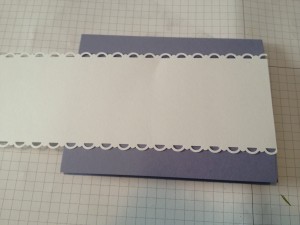
 Next take a piece of whisper white card stock with a length of at lease 5 1/2 inches. You can customize the width to make the band thicker or thinner depending on the look you want. Using the scallop trim border trim both of the sides of the band. What I love about these border punches is that you can line the bit that you have already punched with the stickers on the side to make the punched border nice and even.
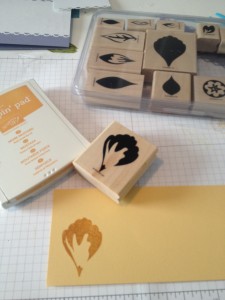
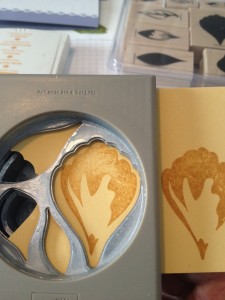
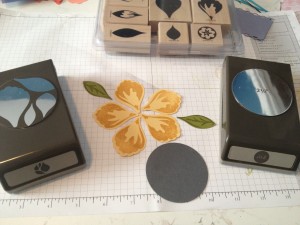
Next stamp and punch out five flower petals using the more mustard ink on the so saffron paper. You can flip the punch upside down and line the stamp in the punched area. To make the flower easier to place I glued it on a 2 1/2 inch circle cut from a scrap piece of paper. Stamp and punch two leaves using the old olive ink on the old olive paper. Finish the flower with a large pearl or brad.
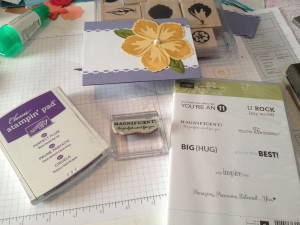
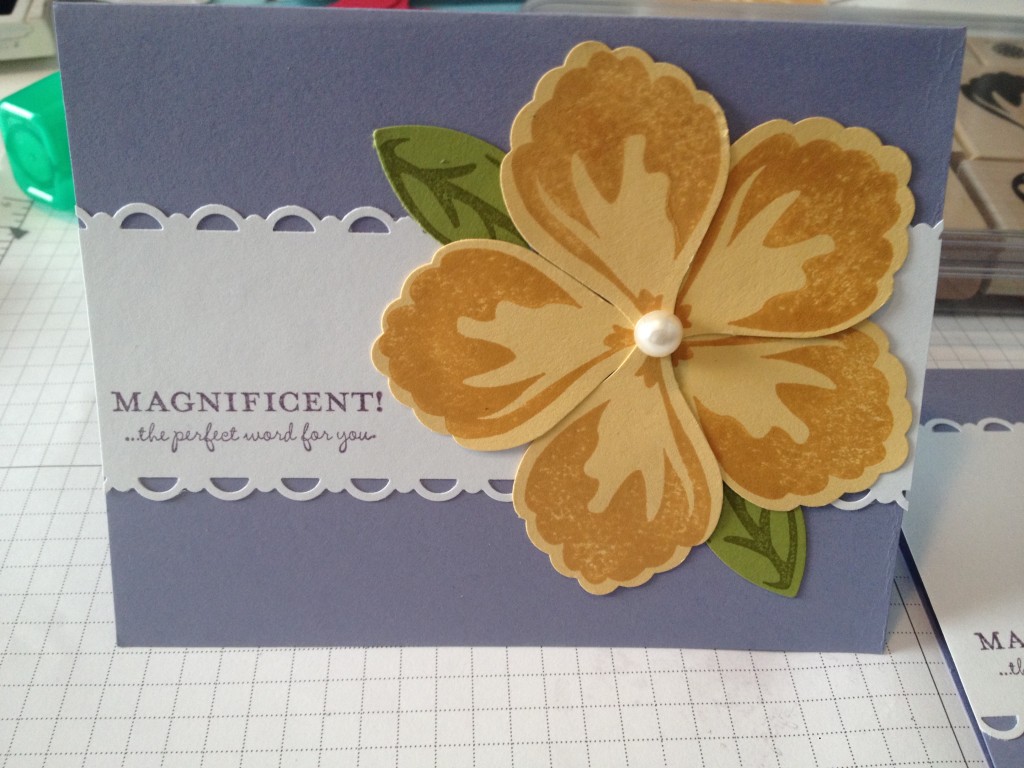
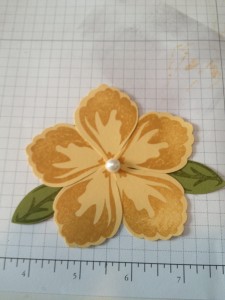 Glue the white strip and flower onto the card. Be sure to leave enough space for a sentiment to be stamped. I choose “Magnificant the perfect word for you,” from the perfect words stamp set.
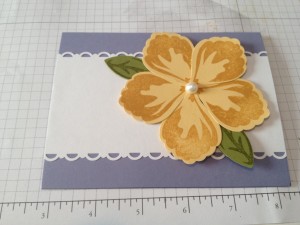
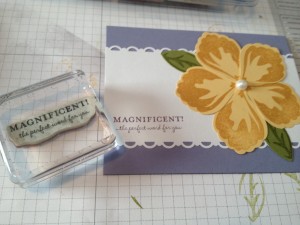 Here’s the finished card. I hope you like it. If you live in the Orlando area try to come to my next workshop check the calendar page for more details.
